01
Why Install a Subpanel?
load balancingdetached garagehome addition
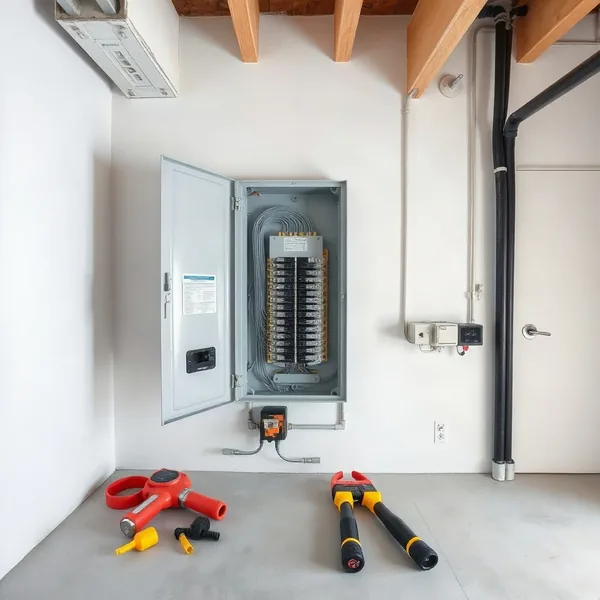
A subpanel makes sense any time your main breaker box is full and a part of your home needs dedicated circuits it can't currently support.
Load balancing is the core reason electricians recommend one — spreading heavy appliances across two panels prevents nuisance trips and reduces heat buildup in a single enclosure. A detached garage is the most common trigger: running enough circuits for tools, lighting, and an EV charger from the main panel means a long, expensive feeder run. A home addition presents the same problem. Rather than replacing an entire panel, a subpanel placed closer to the new load zone typically cuts material costs and installation time by 30–40%.
02
How Much Does Subpanel Installation Cost?
feeder wirebreaker sizing
Subpanel installation in Lawton generally runs $500–$1,800 depending on amperage and how far the feeder wire must travel from the main panel.
A 60-amp subpanel install for a small garage typically lands between $500 and $750. Step up to 100 amps and expect $700–$1,100. A 200-amp subpanel, which requires heavier feeder cable and larger breaker sizing, often reaches $1,400–$2,200 before permit fees. Every 50 feet of additional feeder run adds roughly $75–$150 in materials and labor. Trenching for an underground run to a detached structure adds another $300–$600. Most electricians in our Lawton network charge $85–$115 per hour, and the average job takes 5–8 hours.
03
Subpanel Wiring: What's Involved
grounding rodconduit runfeeder cable
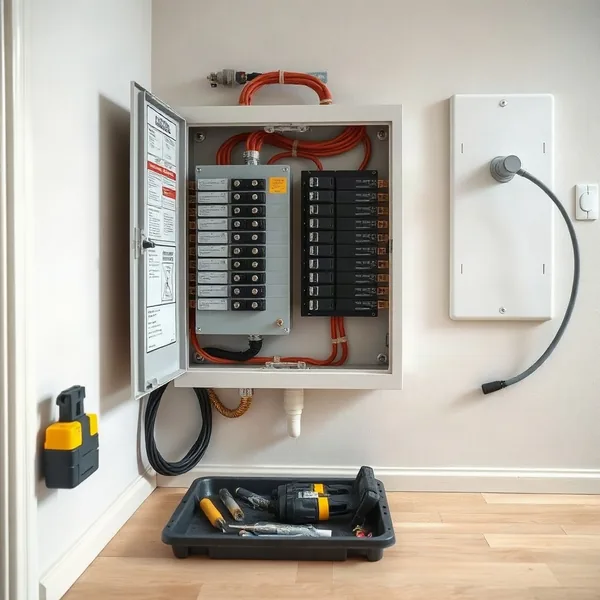
Sub panel wiring is more involved than simply running a new circuit because it requires a dedicated feeder cable, proper grounding, and strict separation of the neutral and ground buses.
The electrician starts by sizing the feeder cable — typically 4-wire copper or aluminum — to match the subpanel's amperage rating. That cable travels through a conduit run from the main panel to the subpanel location, whether through a wall, attic, or underground trench. At the subpanel end, a grounding rod is driven into the earth and bonded to the panel's ground bus. NEC Section 250.32 requires this separate grounding electrode for any detached structure. The neutral bus and ground bus must remain isolated from each other inside the subpanel, which is a code point inspectors check closely.
04
Detached Garage and Workshop Subpanels
shop subpanelgarage circuit240V outlet
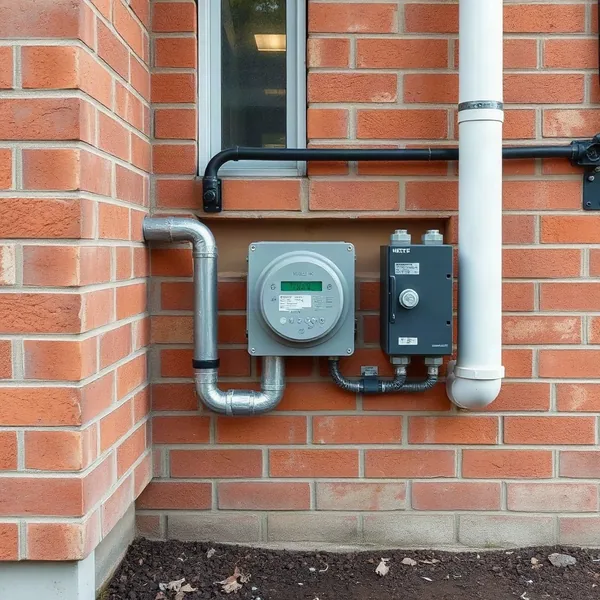
Electrical subpanel installation for a detached garage or workshop is the most frequent job our Lawton network handles, and for good reason — a shop subpanel eliminates the voltage drop that plagues long feeder runs from the house.
A basic garage circuit setup with lighting and two or three outlets fits a 60-amp panel. Add a 240V outlet for a welder or air compressor and you'll want 100 amps at minimum. Heavy workshops running multiple large tools alongside an EV charger typically need a 200-amp unit. The feeder cable is buried at least 24 inches deep in conduit per NEC rules for underground runs between structures. Our network of licensed electricians quote the full job — trenching, conduit, panel, and permit — so there are no surprises on the final invoice.
05
How Do You Install a Subpanel?
permit inspectionmain breaker tie-in
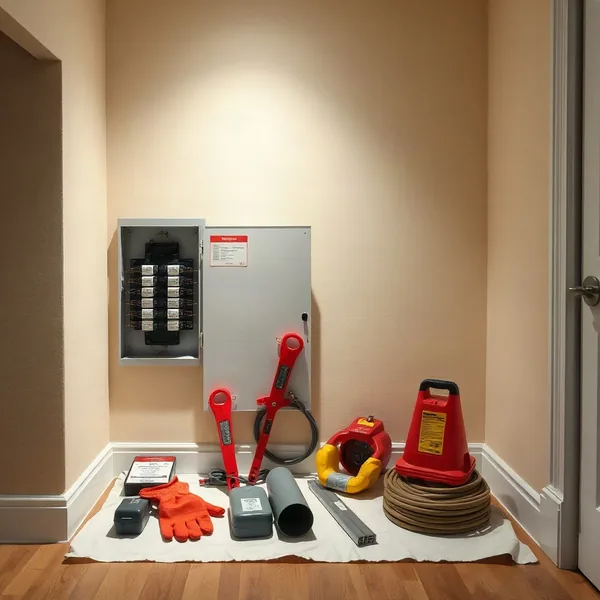
Installing a subpanel follows a defined sequence that a licensed electrician completes in one day for most residential jobs.
It starts with pulling a permit from the City of Lawton — skipping this step risks failed home inspections and insurance complications later. The electrician then mounts the panel enclosure, runs the feeder cable through conduit, and ties the feeder into a dedicated breaker in the main breaker box. At the subpanel, hot conductors connect to the main lugs, neutral lands on the isolated neutral bus, and the ground wire connects to a separate ground bus bonded to the grounding rod. Individual circuit breakers are installed last. A permit inspection confirms proper wire sizing, bus separation, and grounding before the panel is energized.